Galaxy Nexus (CDMA)
Posted on Sat 12 May 2012 in blog
Well after several months of putting up with my rebooting (sometimes looping) when I used any substantial amount of 3G data, I decided to upgrade. I was looking at the HTC Rezound and the Samsung Galaxy Nexus, and found this really good comparison article on phoneArena. Ultimately, after many recommendations by friends, I went with the Nexus.
It arrived, running Android 4.0.2. This time, I lasted about 2 days before rooting it. Everybody has their own half-assed write ups of this, but I wanted to mainly include my sources for some of these files:
- ADB / Fastboot Drivers - Samsung SCH-I515 download page
- ClockworkMod Recovery
- Superuser - From clockwork site
ADB / Fastboot Drivers
I downloaded the USB drivers directly from Samsung's site on their SCH-I515 download page. It's a 23MB download which is a bit ridiculous, but I wan unable to isolate exactly which driver was required from the compressed exe.
After installing them, I was able to plug in my phone, turn on USB debugging,
execute adb devices and see my device. Next, I rebooted into fastboot mode
(hold all three buttons to turn it on). At this point, the device showed up as
"Android 1.0". However, I was able to fix that by:

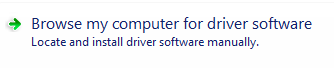

Then, there should be just one "SAMSUNG Android ADB Interface" listed.
After correcting the driver issue, I was able to execute fastboot devices and
see my device.
Unlock Bootloader
The next step is fastboot oem unlock!
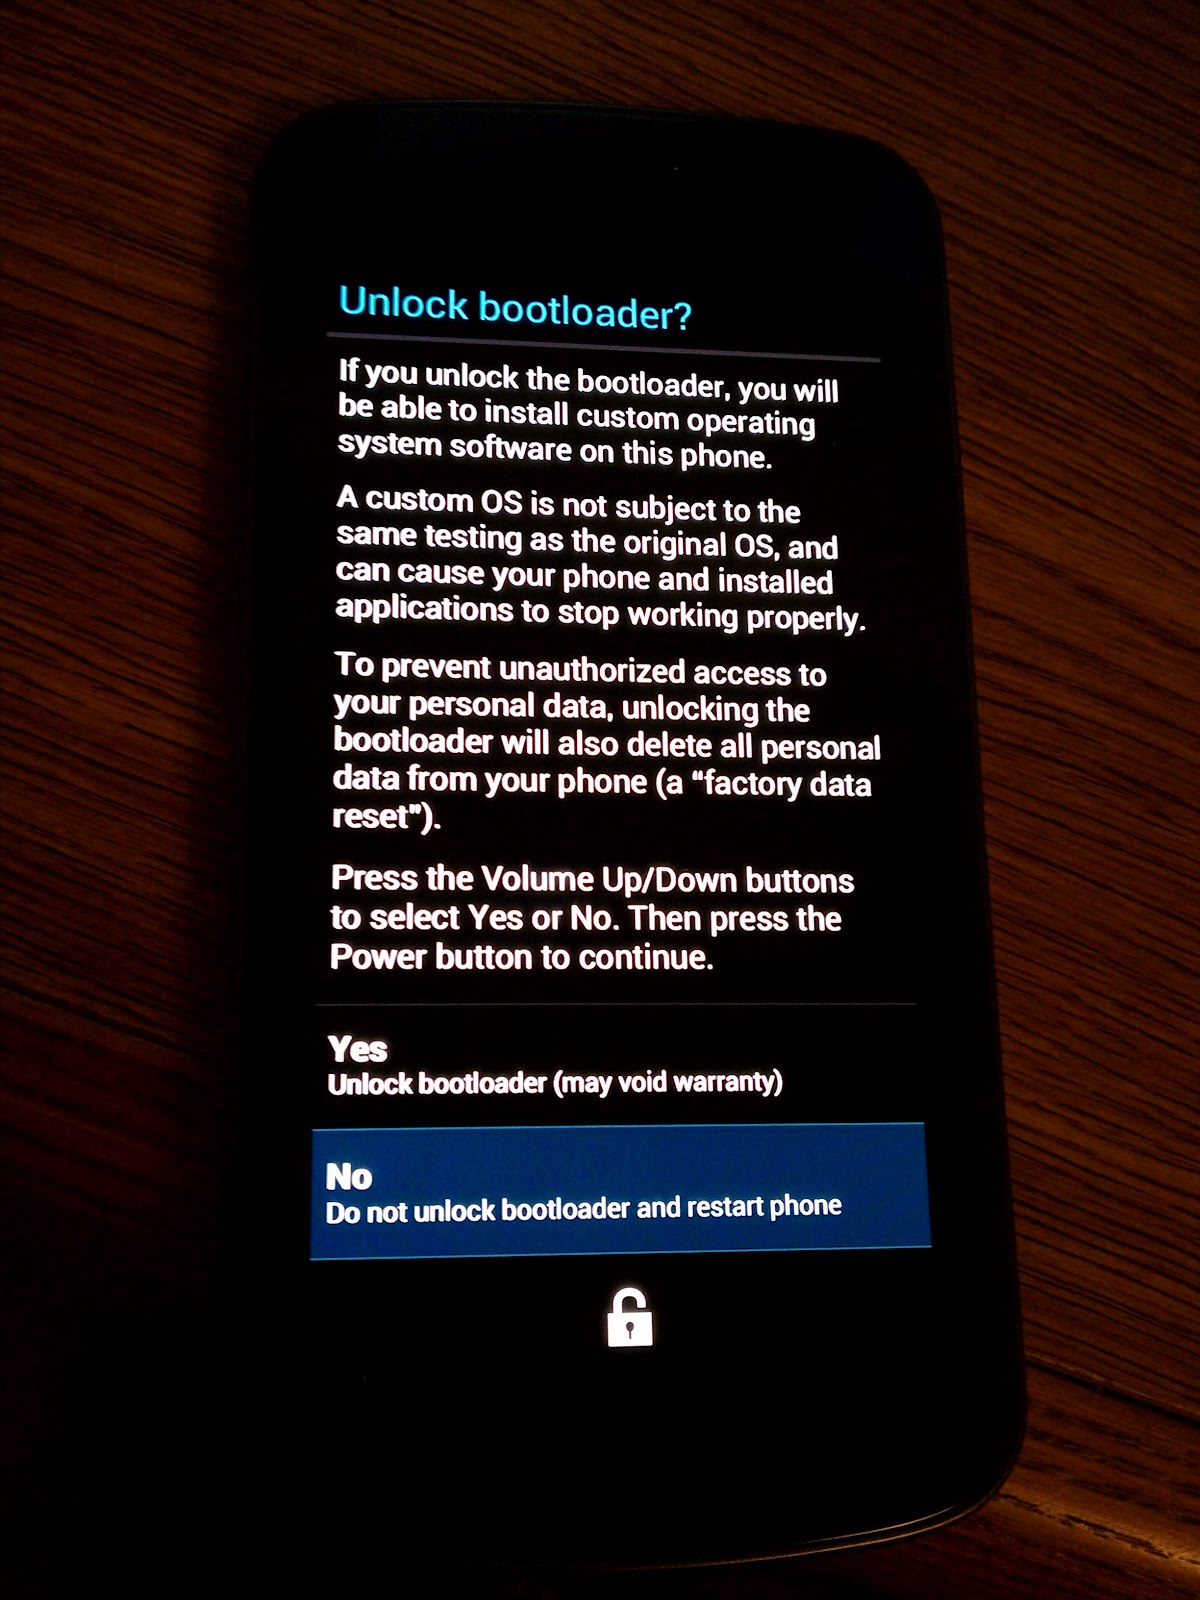
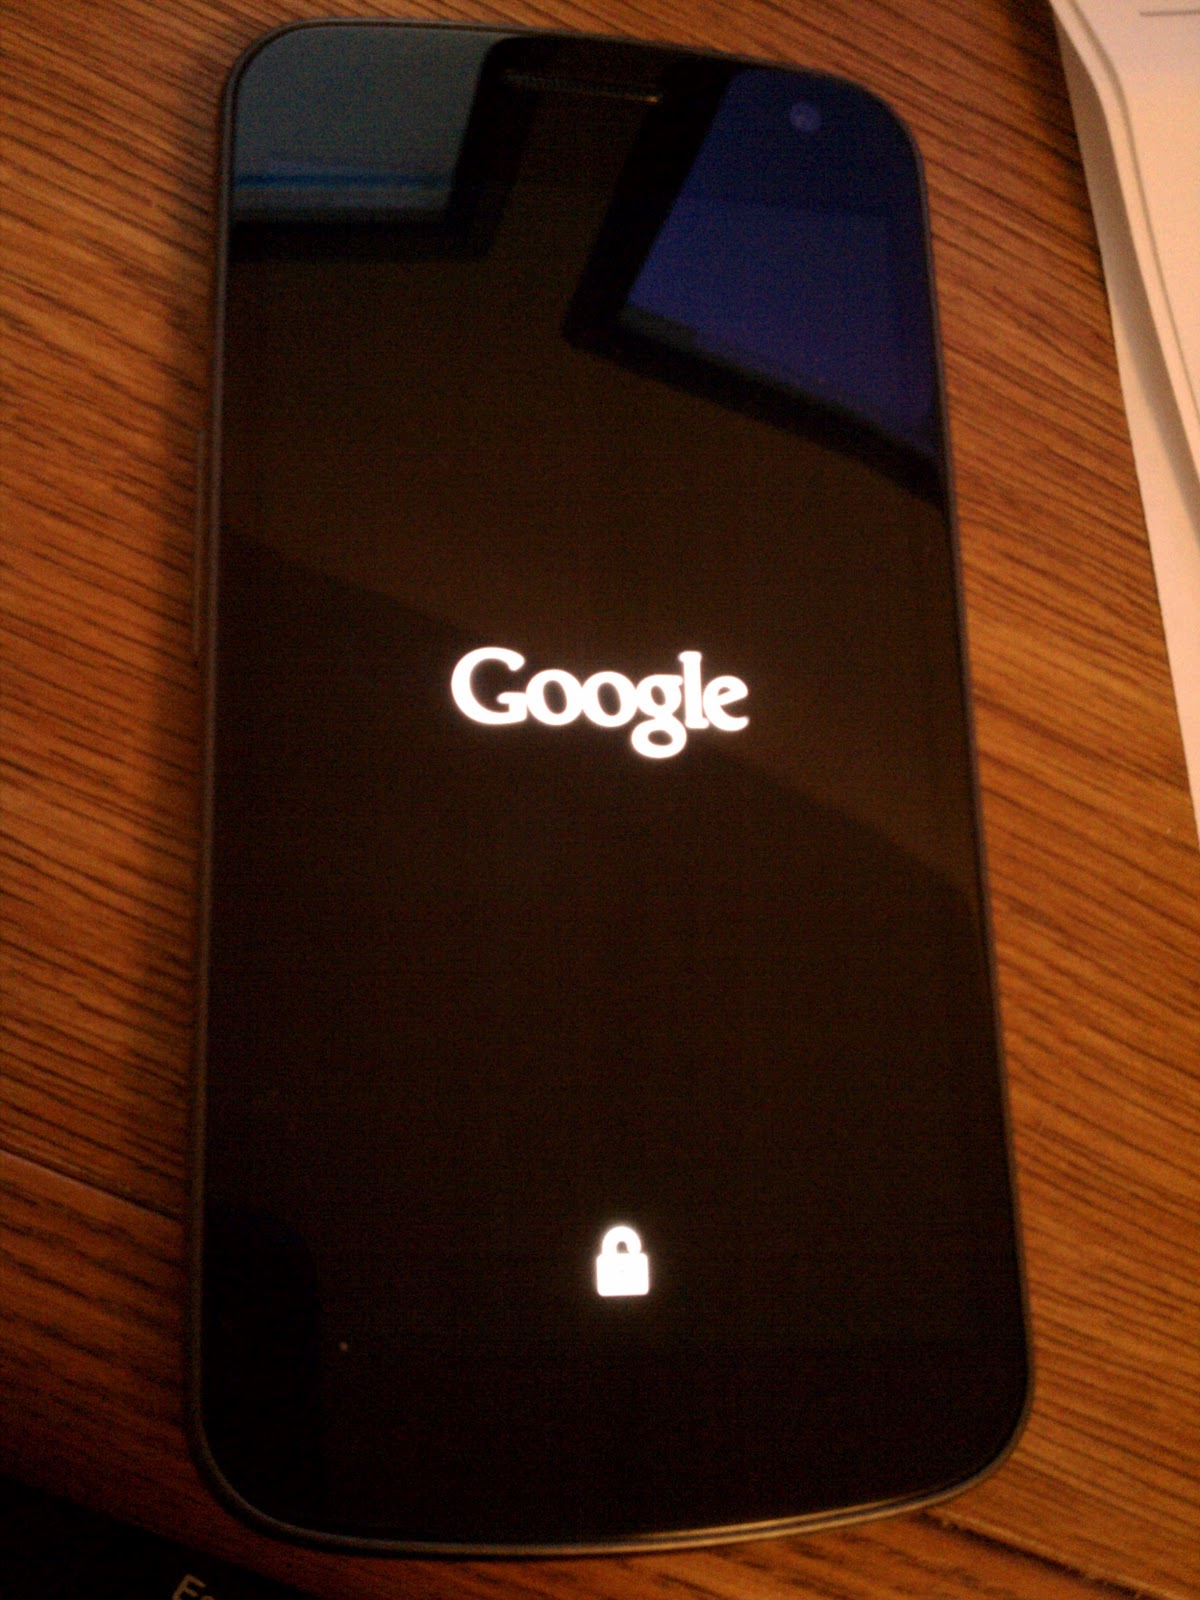
After unlocking, I rebooted, and the Google screen now has an unlocked icon!
ClockworkMod Recovery
After making sure the phone booted OK, I flashed the latest (touch) version of
CWM from the ClockworkMod ROM Manager page. At this time, that
version was recovery-clockwork-touch-5.8.0.2-toro.img.
Simply download and run fastboot flash recovery recovery-clockwork-touch-5.8.0.2-toro.img.
Root
Next, I rebooted, and went through the initial setup. Now it's time to actually get root! The page that I had been following included some version of SuperSU. I didn't really want to just use what they gave me, and went on the hunt for the latest su.
Note for root newbies: "Root" essentially means having access to the su
("superuser") binary, which allows a process to run as the root user. On
android, "root" is two components: The su binary (linux executable), and
Superuser.apk, which is the accompanying Android app, which manages requests
for root, logs, etc.
It appears that androidsu.com is the true "home" of superuser for
Android. So I downloaded the latest, Superuser-3.0.7-efghi-signed.zip, and used
adb push Superuser-3.0.7-efghi-signed.zip /sdcard/ to push it to my phone.
Then I rebooted into recovery again (adb reboot recovery), and tried to
install it, with the Install zip from sdcard option. However, I got the
following error:
E:Error in /sdcard/Superuser-3.0.7-efghi-signed.zip (Status 0)
Doing a little research, I found the following posts:
- http://androidsu.com/superuser/#comment-6120
- http://www.theandroidsoul.com/root-ice-cream-sandwich-on-att-galaxy-s2-skyrocket/#comment-478881789
I tried everything, but could not get it to install. Instead, I found myself on
download.clockworkmod.com. In /su/,
I found seven different -test versions, and in /test/ there is one
su.zip. (I can't for the life of me find the site that linked to that one.)
It turns out that that is the one that worked for me. I don't quite understand,
but whatever, it successfully installed via CWM. After rebooting, Superuser
was installed, and showed the correct version of the binary (and updated it
too!).
What's Next
Next, I'm probably going to upgrade to the stock Android 4.0.4 ROM, as it supposedly makes some big improvements. That page links to this thread. Also in my sights for a new ROM are this IMM76K 4.0.4 mod, and of course CyanogenMod 9, which is currently available only in nightlies.
Other Resources
- http://galaxynexusroot.com/galaxy-nexus-root/how-to-root-galaxy-nexus-universal-guidegsmverizonsprintwindowslinuxmac/